Since I am not able to get in the back end of each reader’s analytics account or CRM data, I will only be providing core audience recommendations throughout this post. However, I highly recommend that all Facebook advertisers leverage custom audiences and lookalike audiences for targeting in their campaigns.
In this article, you’ll learn how to build a website custom audience. This works for any number of website visitors. I’ll also show you how to create a full ad campaign that targets this audience.
1. Getting Started: Create a Website Custom Audience for the Last 180 Days
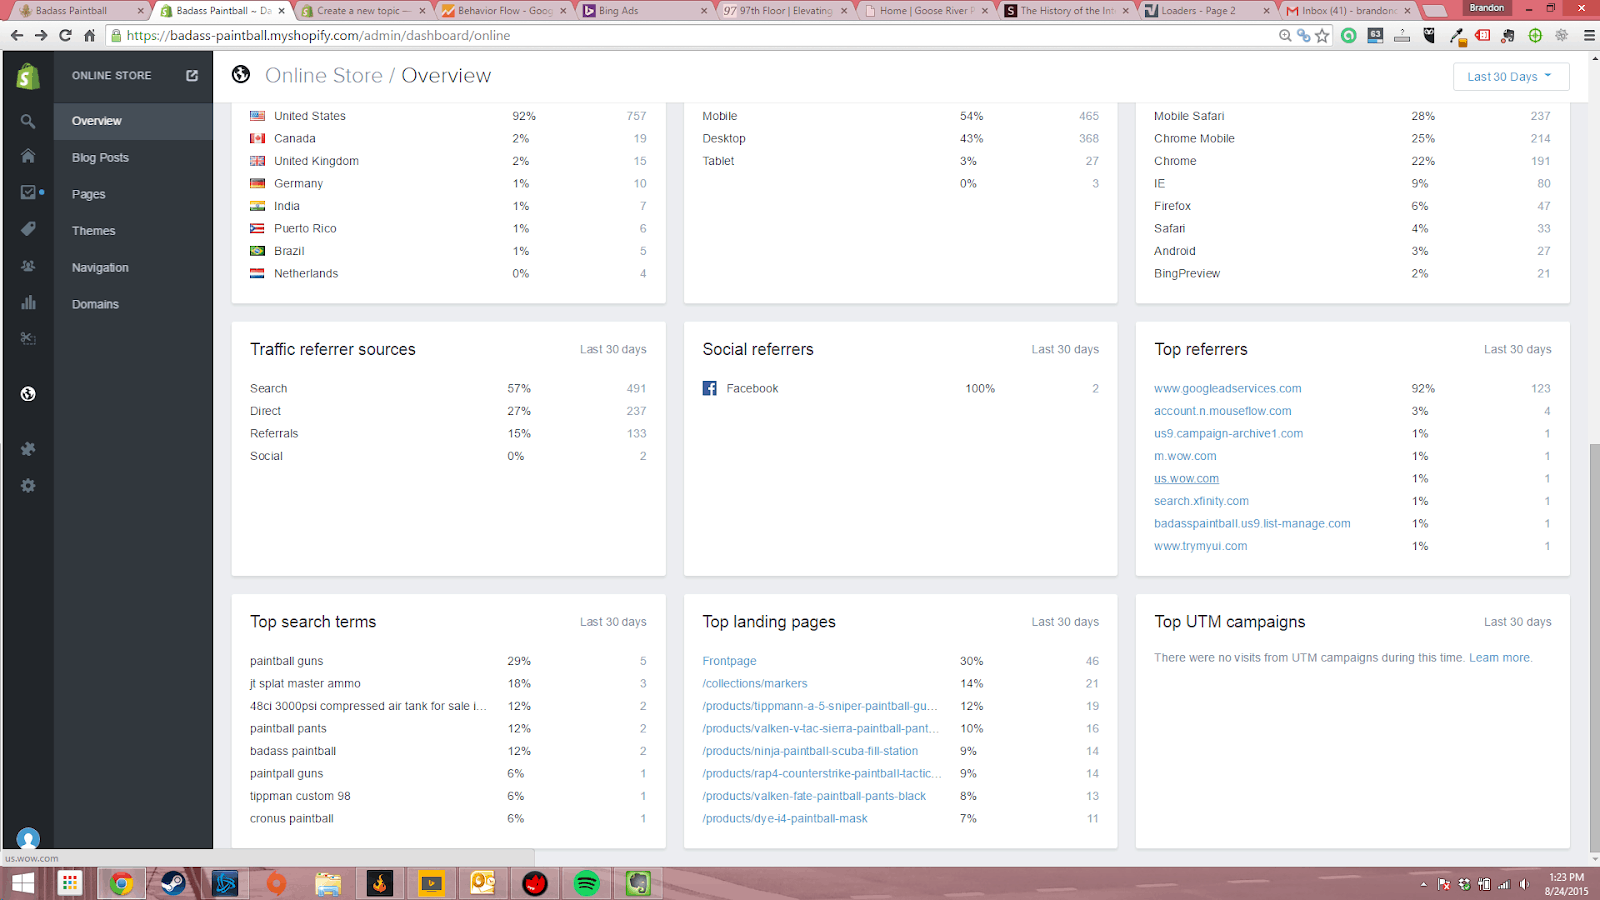
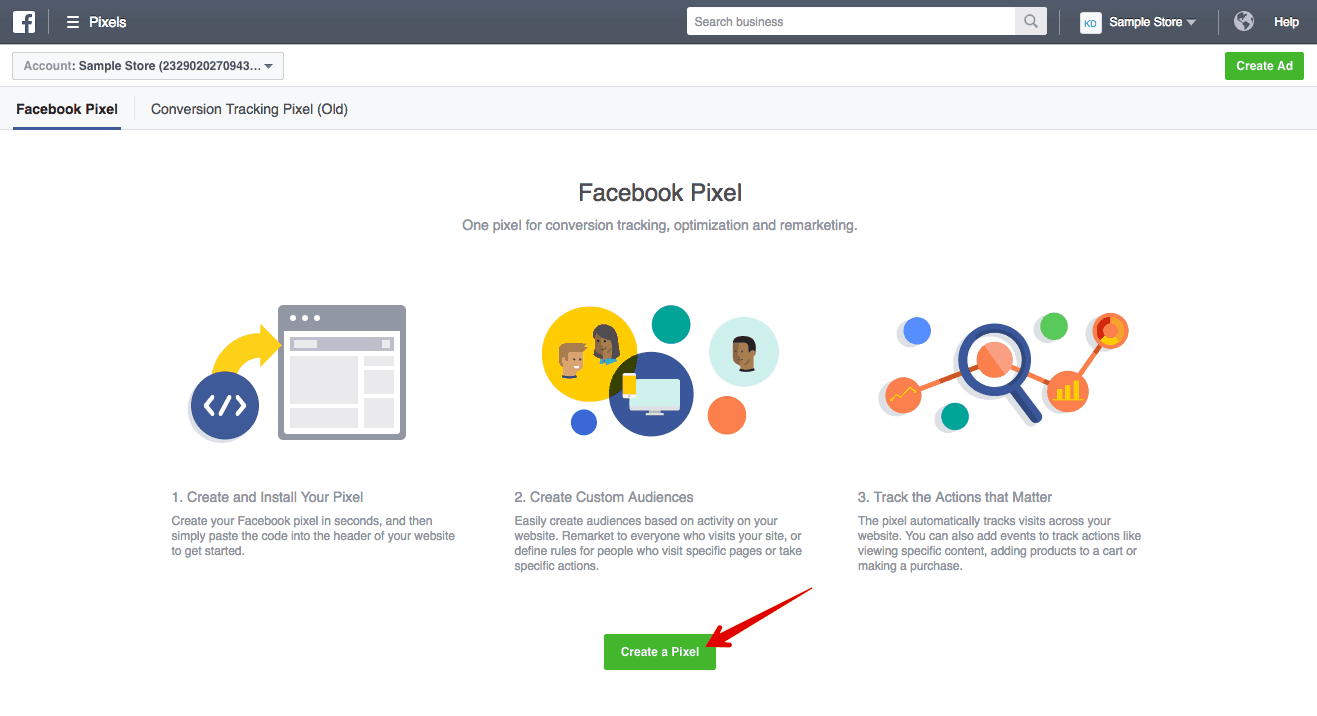
In order to create any website custom audience, you first need to have the Facebook pixel and any relevant conversion tracking installed on your website. For a step by step walkthrough of how to set up the pixel
Website custom audiences group people based on them being pixeled when visiting your website. You then set conditions such as what pages someone needs to visit or conversion actions they need to take, as well as in what timeframe, to be included in your audience.
The website custom audience you want to start with is one that groups all of your website visitors in the last 180 days.
To create this audience, navigate to your Audiences dashboard using the Ads Manager main menu. Once loaded, click on Create Audience and from the dropdown select Custom Audience.

You’ll then be presented with a menu listing the different custom audiences all the way from customer file which uses your own database — to app activity, engagement, offline and of course website traffic.

Click on Website Traffic to open the website custom audience creation window. At the top, make sure that the ‘include’ condition is set to ANY and not ALL.
Next select your Facebook pixel. If it’s all working correctly, you should see a green dot next to your pixel name showing it’s active.
In the website traffic condition leave it as the Default — All website visitors — and in the day duration field change it to 180 days. This is the maximum number of days you can have for a website custom audience. This is the best starting website custom audience to test as it will create the largest of audiences, which is why it works for websites with a small number of monthly visitors.
Finally, name your website custom audience: “WCA – All traffic – last 180 days”.
WCA is the acronym of website custom audience, then All traffic for the condition and 180 days for the time duration.

Using a specific naming condition will help you keep track and easily identify your audience when you start creating other website custom audiences or any other audience.
Website custom audiences will take up to an hour to populate and even longer if you have a large number of website visitors.
2. Create a Website Re-marketing Campaign Targeting Your New Audience
Creating the audience itself is just the start. Next, we’re going to look at how to build a campaign around your “WCA – All traffic – last 180 days” audience.
The first step is to choose your objective. To start things off we’ll use the Traffic objective, optimizing for landing page views.

Click Create campaign and in the quick creation window name your campaign. Then set your buying type to Auction, choose the Traffic objective from the drop-down and leave the Split test and Budget optimization features turned off.
Next, name your ad set and ad and click on Save to Draft. When your campaign opens, navigate to the Ad Set level by selecting “1 ad set” at the top of the window.

Now at the ad set level, in the Traffic section, select Website as the destination to drive people to from your ads.
In the Budget and schedule section set your daily budget. As a rule of thumb for every 10k people in your website custom audience set a $5 per day budget. For example, if you have 50k people in your website custom audience your daily budget would be $25.

In the audience section, from the Custom Audience field, search for and select the “WCA – All traffic – last 180 days” audience you created earlier.
Set your target country in the location field and leave the rest of your audience sections such as age, gender and detailed targeting as Default. You don’t need to narrow down your website custom audience as it’s already hyper targeted.

Next, in the Placements section, choose Edit placements. Then in the placement list, deselect all placements apart from Facebook feeds and Instagram feeds.
Finally, in the Delivery and Optimization section, select Landing Page Views from the drop-down and make sure the Set a Bid Cap is not selected.

Now move on to the Ad Level of your campaign. Here we are going to create the ad to show to your website custom audience.
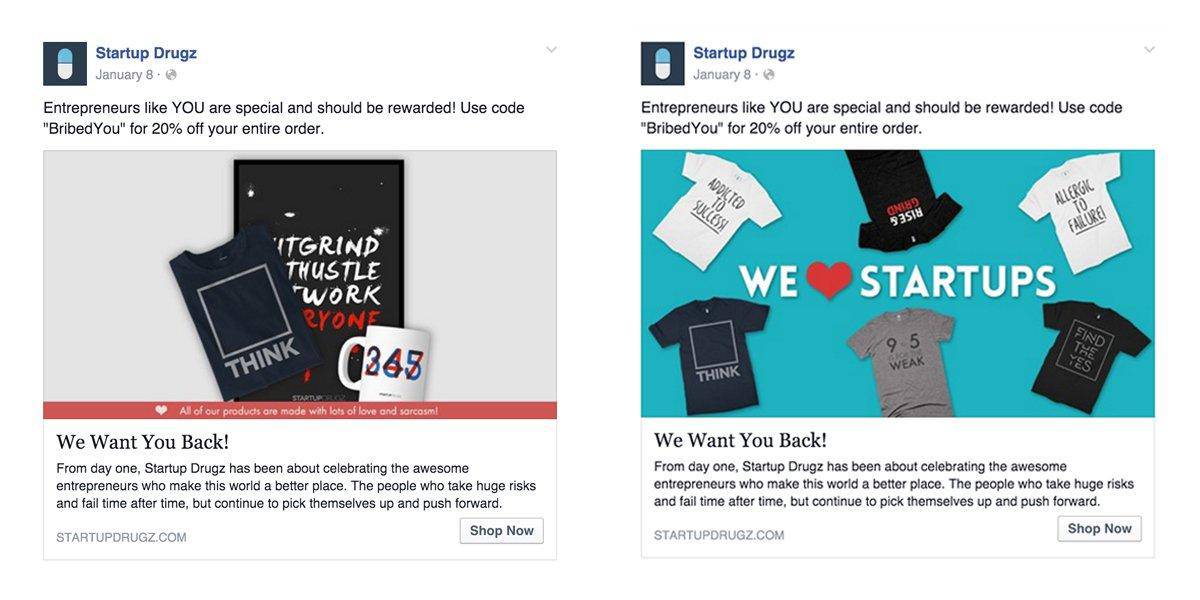
When targeting a hot audience of website traffic, you want to use the testimonial ad type in the RTM Method (Reminders, Testimonials, Messenger).

By using a testimonial ad type, you are building social proof to establish greater trust and confidence with your audience, to the point where they revisit your website and convert into a customer or client.
At the Ad Level, select your Facebook page and Instagram account from the Identity section.
Under the Create Ad tab, select ad with an image or video. This is known as the single image or video format. We are going to start this campaign with a single image ad.
Click on Select Image and then from the Image Library choose a relevant image to the offer you want to promote. For example, you could run a promotion on your most popular product and therefore choose a product image.
TIP: The optimal ad format for a single image ad is now 1:1 square ratio, like on Instagram. Minimum of 1080×1080 pixels.

Next, in the text section follow this copy structure.
- Start your ad with a customer or client testimonial.
- State your offer to hook your audience to come back to your website. This could include a price incentive such as a discount for first time customers or clients.
- Add any additional social proof such as “join thousands of happy customers” or “5 star rated on [insert review platform].”
- Add a Call to Action (CTA) such as “click the link below” to “shop now.”

In the website URL section, link back to the most relevant page based on the offer you used in the ad copy. Also reiterate your offer in the Headline field. In the Newsfeed link descriptionfield either reiterate the discount code they have to use or your CTA.
Finally, set your CTA button. For example, if it involves buying a product use “Shop Now” and for lead-based businesses use “Learn More”, “Book Now” or “Contact Us” depending on the offer you used in your ad copy.
In the tracking section ensure that your Facebook pixel is enabled then click on Publish to set your new campaign live.
3. Dating and personal services: People interested in romantic relationships
This is a tricky one because there are an estimated 36+ million users that have “single” as their relationship status on Facebook in the US.
But not all of these people are accurately reporting this information and, even if they are, single doesn’t necessarily mean interested in a relationship. Instead, let’s consider additional signals that could infer the user is looking for a romantic relationship:
Demographics → relationship status:
Interests → family and relationships:
Interests → pages that serve content around dating:
- Bumble
- Hinge
- Christian Mingle
Aside from the individual’s characteristics, this industry can consider the impact a user’s friends may have on their behavior. There’s nothing that makes you want to start swiping like an influx of save the dates from all of your friends.
Here’s how to target based on this demographic:
Demographics → life events → friends of:
- Friends of newly engaged people
- Friends of newly weds
Read more All the best facebook ads you should learn about
_______________________________________________________________________________
Please contact us for seo service packages at TDHSEO.COM.
TDHSEO Team
Email: tdhseo@gmail.com
Skype: tdhseo
https://www.facebook.com/tdhseo
Thank you!


 Before you can start creating dynamic ads from your Shopify store, Facebook requires the following from you:
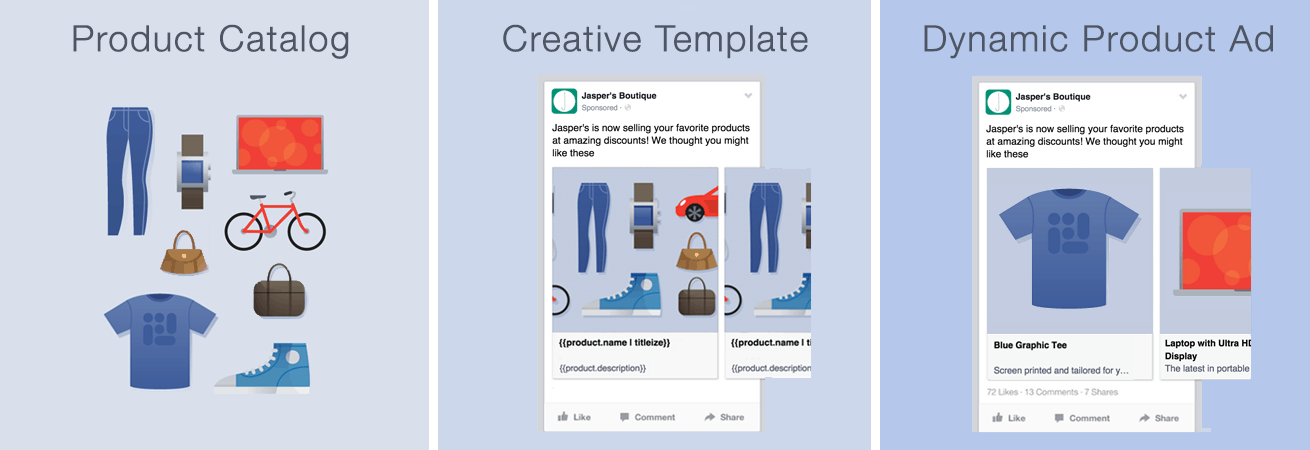
 Here’s where we start to see the real beauty of Facebook ads in action.